HR Noise 12: Shielded Cable to Fit with DIY Preamp
Last Updated on January 5, 2022
First Published on July 2, 2021
From March, I wrote code of guitar pedals for Raspberry Pi Pico to get effects. I'll report the hardware of Pico in this Olympics Summer. Before this hardware, I have some works of analogue. The modification of my Les Paul SL gives me a great treble. However, there is one big issue that my Les Paul must need my DIY Preamp, i.e., if the DIY preamp breaks, my Les Paul SL becomes an acoustic guitar. I thought the module of the preamp should be in a shielded cable. I also needed to this cable for my BST-1R.

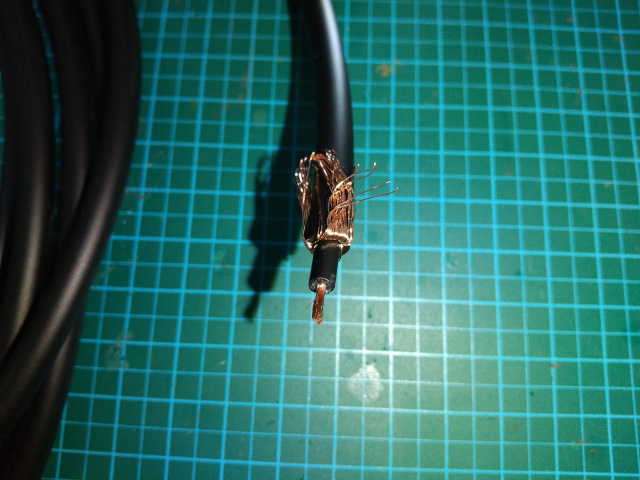
This is MOGAMI No. 2524. I made guitar cable 3.4 meters with this cable. However, I need the next one to fit with my DIY preamp. I stripped 9mm of the jacket, and 4mm of the conductor. Caution that this MOGAMI has "conductive" black vinyl outside of the translucent insulation for low noise.

J112 is a JFET. I also used 2SK209-BL and BF256B. 2SK209-BL is good enough, but it's SOT-23 and less stocks in North America. BF256B is the first choice, but it's doesn't invert inputted wave. I think BF256B is special one because this is intended to be used as a common-gate amplifier for high frequencies for radio communications. I cut the lead of Gate to 6mm.

In advance, I soldered this metallic phone plug with J112 and 1M ohms resistor. Note that 1M ohms resistor is KOA MF (MFS1/4). The length is 3.2mm and the diameter is 1.7mm. Ordinal JFETs can be change Darin to Source, and vice versa. I soldered Gate of J112 with a lead of the resistor and the tip of the plug. I soldered Drain of J112 with a lead of the resistor and the ground (sleeve) of the plug.
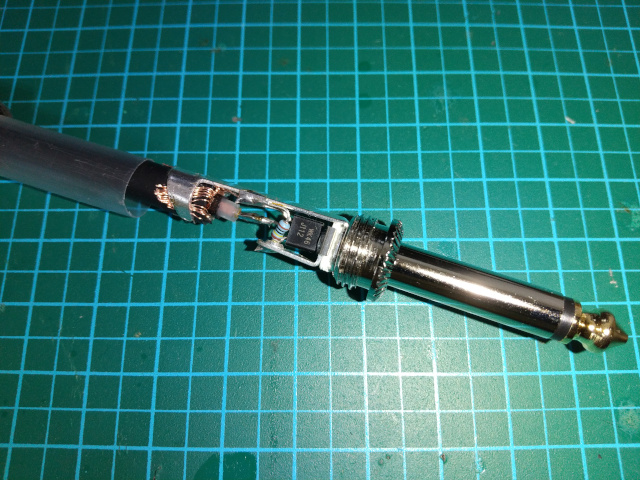
Hello, solder-less Cold. OK, you should tell me, "it's should be twisted and soldered". Just crimp me. HOWEVER, after crimping with a lead of a resistor and wires of the shield of MOGAMI, I soldered Source of J112 with the conductor of MOGAMI. You can check the "conductive" black vinyl is stripped. Note that I used fluxed lead solder for low temperature in the overall of this work. the conductor of MOGAMI is stranded copper wires, which is a little hard to be soldered. I used additional flux to solder in almost cases in this work. If I couldn't make this work, I would need to use epoxy resin instead of the metal cover and the inner plastic sleeve not to connect Hot and Cold directly. Note that I used needle-nose pliers to crimp well.
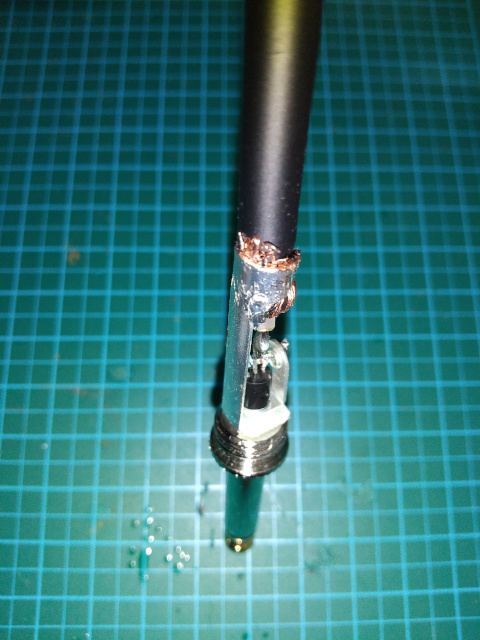
Meanwhile, I think this soldering on the crimping part is not needed. It's a cause to weaken the stability of this work.
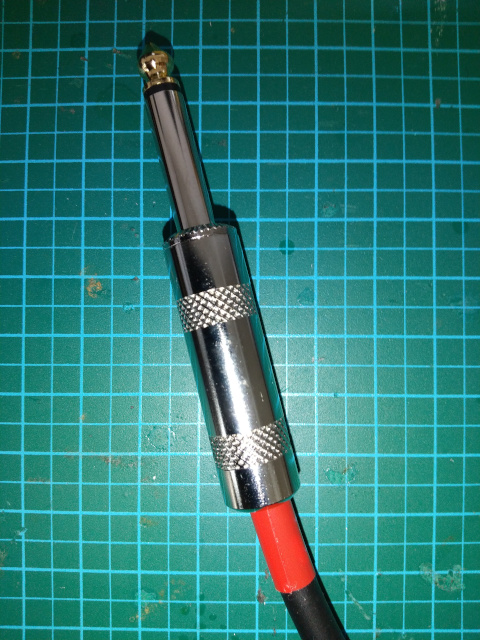
To cover wires for the shield of MOGAMI, I applied insulated tape.
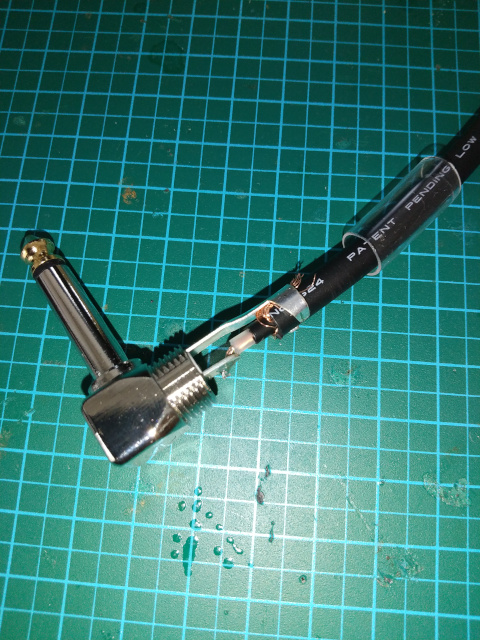

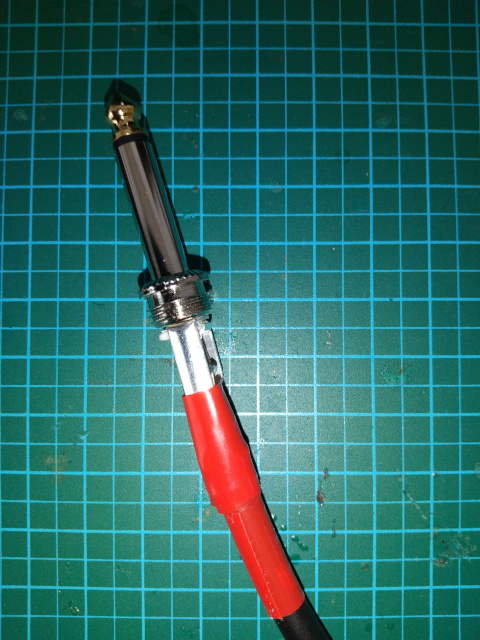
Another side of MOGAMI is with a L type plug. This side is an ordinal work with crimping. Don't forget to attach each metal cover and each inner plastic sleeve to the cable before soldering either plug. Note that the straight plug (Classic Pro P12), the L type plug (Classic Pro P12R), and MOGAMI No. 2524 are bought on Sound House. The fitness of these plugs to the #11 mono jack of Switchcraft and Japanese jacks aren't wrong as long as applying oil (be sure to wipe out well after oiling plugs).
Worked well with my BST-1R. I think a bridge pickup should be a single coil for treble. Basically, my DIY preamp has an advantage on treble sound. I recent though for the high frequency noise on this topic, "HR Noise", is that a unique noise of an Op Amp. Op Amp tends to make a unintended relaxation oscillator. Hmmm, this thought should have further inspections...
* (Updated on 1/5/2022) I also think the reason of the high frequency noise comes from pickups, and the noise might be coil whine. If so, potting for pickups may reduce the noise. However, original pickups of Les Paul SL (Melody Maker) is enough to record my play as long as I put my palm on the bridge for grounding to hide such noise.