RasPi 5: Guitar Pedal Effected by Raspberry Pi Pico (Hardware Prototype - Initial Report)
Last Updated on November 7, 2021
First Published on September 15, 2021
With my DIY preamp which is as the first stage booster.
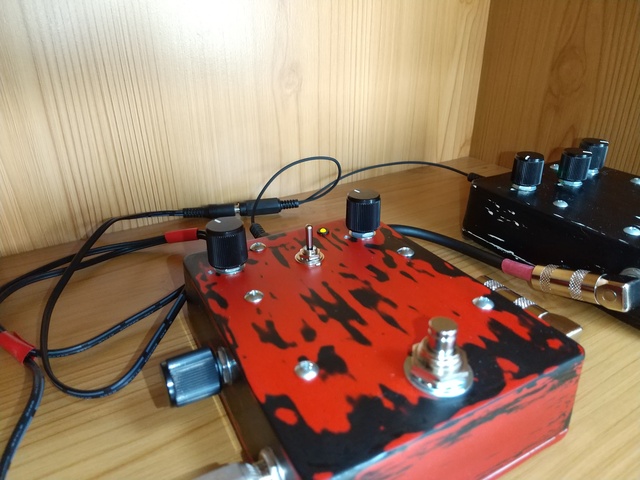
Completed to make the prototype hardware for my project of guitar pedals using Raspberry Pi Pico.
This is the initial report which is brief. I'll report more details including a plot of drilling an aluminum box, parts, a PCB design, and beachside demonstrations.

What a great stump (the push button)!
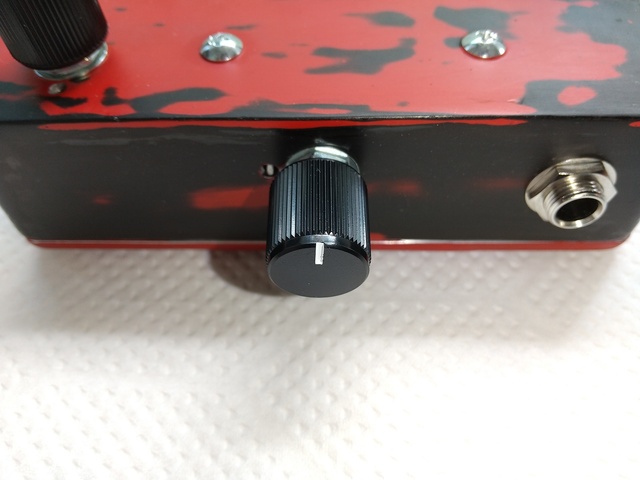
The idea to place a POT for the level control on outputting, a side POT.
To design the circuit board, I need 4 layers, i.e., a Pico, an Op Amp, the front of a universal board, and the back.

Wiring Inside Guitar Pedal Hardware Prototype with A Raspberry Pi Pico.
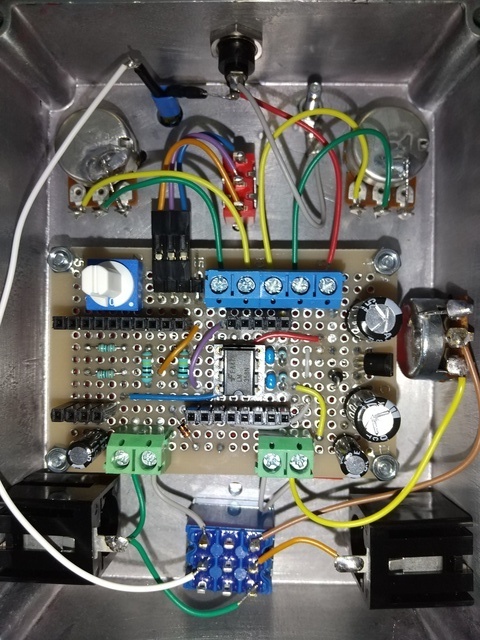
Underneath of The Pico with An Op Amp, LM358N (The Die [Integrated Circuit] of National Semiconductor).
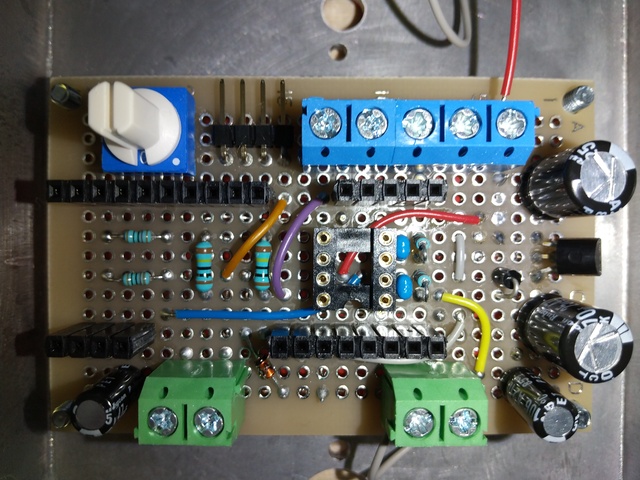
Front of The Universal Board and Underneath of LM358N, Red and Blue Wiring
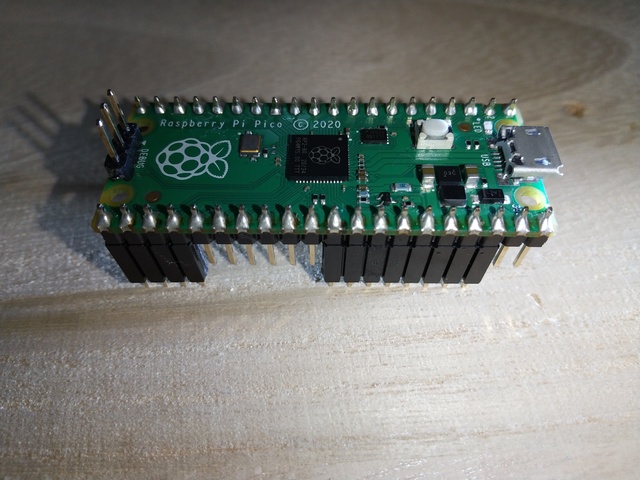
For proper soldering of sockets for a Pico on the board, I used another Pico which is used for developing the software.

Back of The Universal Board: I took 4 days to wire the circuit on this board.